Materials
Materials are what is actually applied to your model so that you textures can display on them. Each different material visually interprets textures in different ways.
Most material presets do not translate transparency but some do have transparency in different forms.
WARNING
If you are using Legacy Weights or are on a version before SDK 3.0
Material amount must be equal to the amount of materials on the object you are replacing if it is a LOD, even if you do not use all said materials.
For example, the SR-24 Brawny Arm Right part has 2 materials. You must have 2 materials on your modded arm part as well.
You cannot go over the material amount of the base game or else you will instantly crash the game on start-up.
There are very specific cases where you can add materials to an object, but this is rare and only really applictable to weapons and props. Please refer to this section to learn more about adding extra materials to an object.
View this section on how to combine texture sets into a single texture atlas so that you can adhere to the object's material constraints.
Material Presets
There are a variety of different presets you can use. Each one has its own pros and cons.
Advanced
Pros Metallic texture Strongest Emissive No texture flickering Visible in selection screens
Cons No environmental overlay No transparency Requires more complex texture setup than other shader types
Basic
Pros Metallic texture Environmental overlay*
Cons Not visible in selection screen No emissive
Basic+
Pros Metallic texture Visible in selection screens
Cons No emissive Tends to flicker on weapon models
Translucent
Pros Allows the usage of an alpha mask (useful for things like hair/decals)
Cons No emissive Not visible in selection screens
Alpha Clip
Pros Transparency*
Cons Not visible in selection screen No Environmental overlay
Original
Pros Visible in selection screens
Cons No metallic Weaker emissive than “Emissive” preset No Environmental overlay Static effect in armory screens (added patch 1.002.200)
Emissive
Pros Stronger emissive that original
Cons Not visible in selection screen No metallic No Environmental overlay
LUT
Pros
Cons
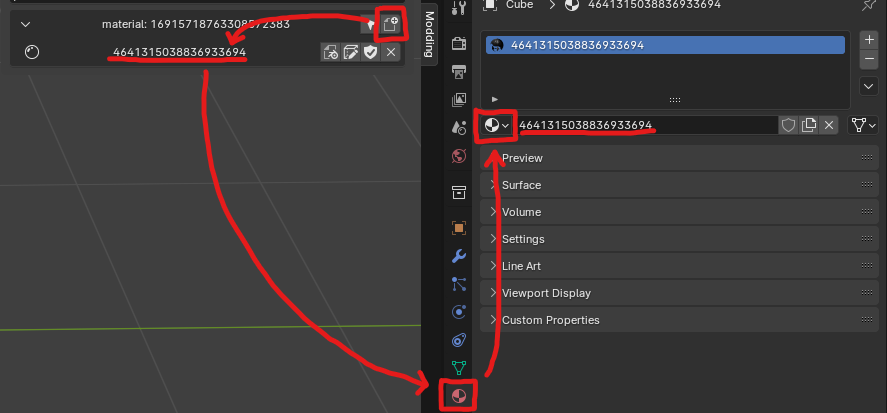
Applying Your Material
Once you select and add a material preset to your patch. You can then apply the material to your selected mesh by clicking the dropdown in the material tab and selecting the same ID as the material you created.