Weapon Replacement
Setup
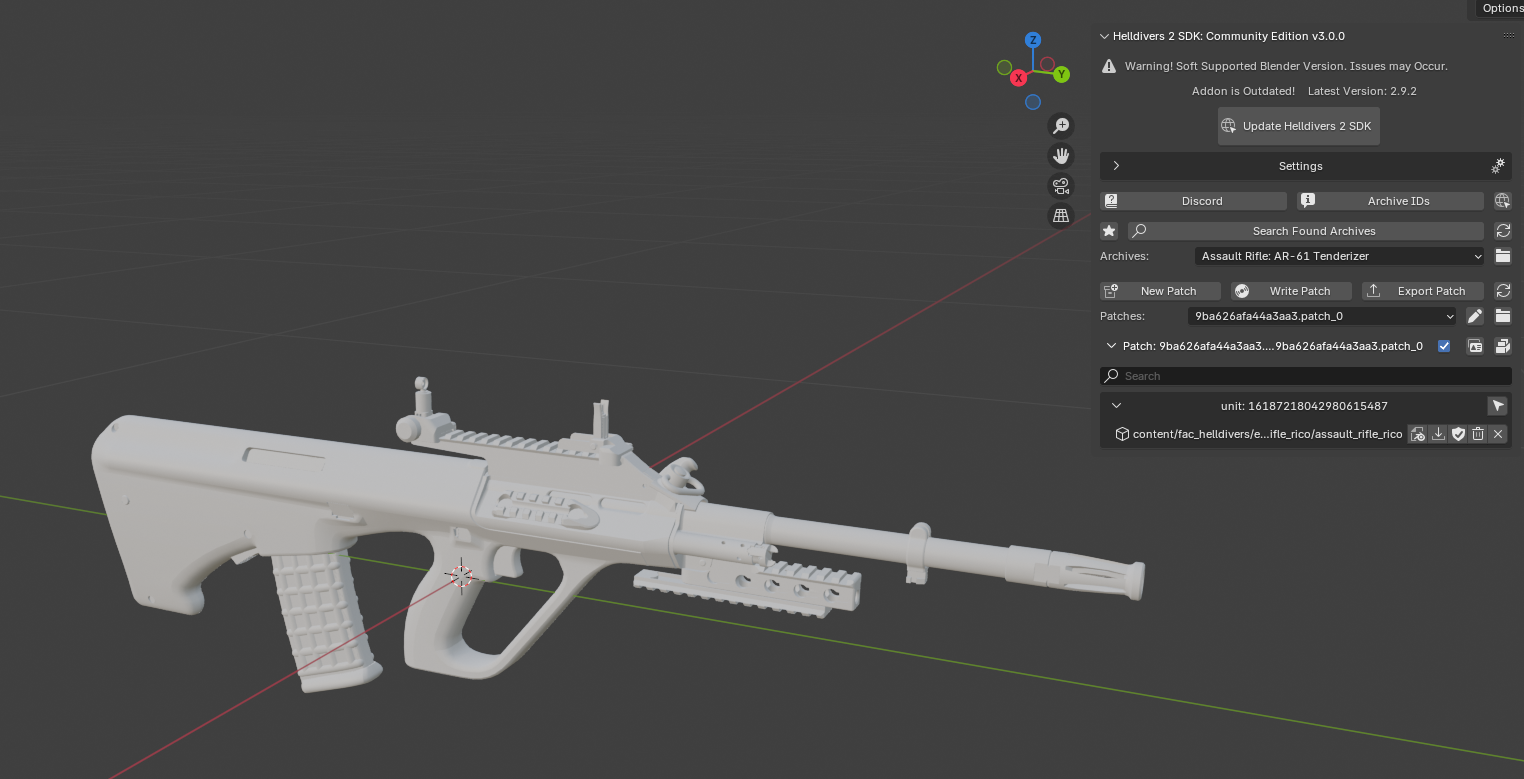
Upon launcher Blender and having the SDK installed, you will need to do some basic setup.
Load the base game archive by clicking the star icon
Hit New Patch
This will need to be done everytime you open Blender up again.
Import Unit to Replace
Use the Search Found Archives section to search for the archive of the item you wish to mod to add it to the currently loaded archives. If the item cannot be found, use the spreadsheet.
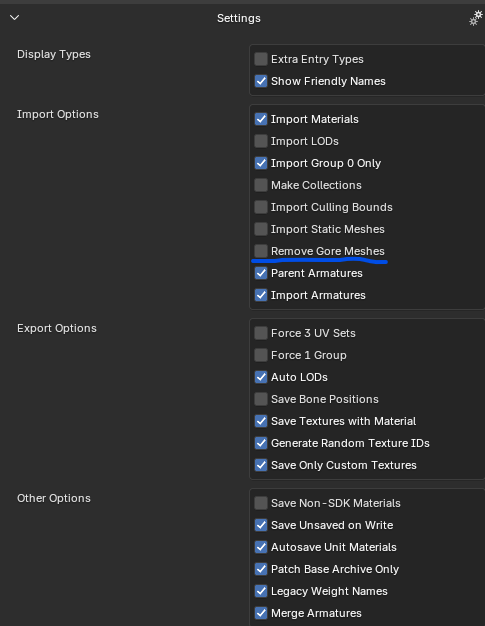
With the archive selected, click on the Import icon next to the unit you want to modify. You can open/close the foldouts of sections.
Certain units may need different settings to properly import into Blender. Some objects are only static meshes and will require the Import Static Meshes setting to be enabled.
There also may be cases where some units require all LODs to be modified in order for it to work properly. Visit this section on how to properly modify Non-AutoLOD units
Alignment
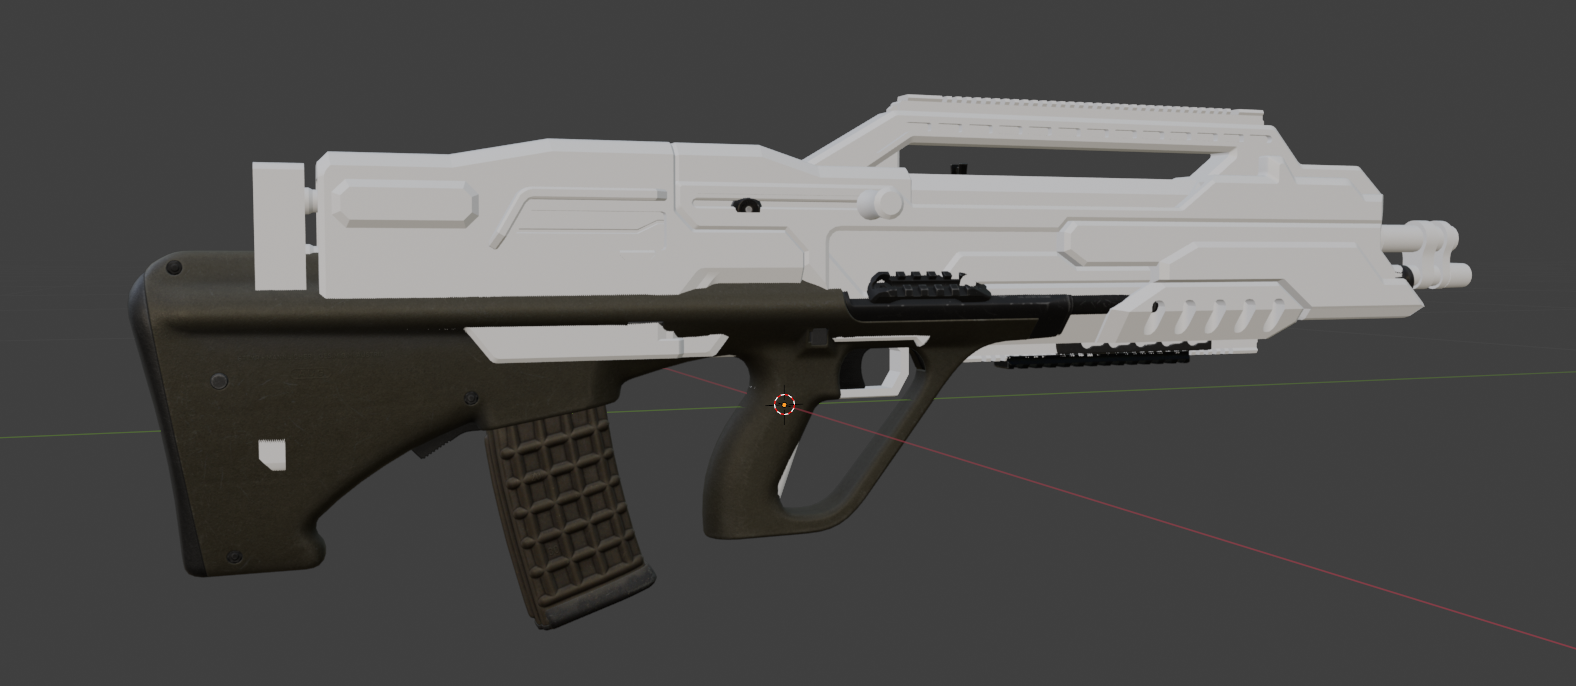
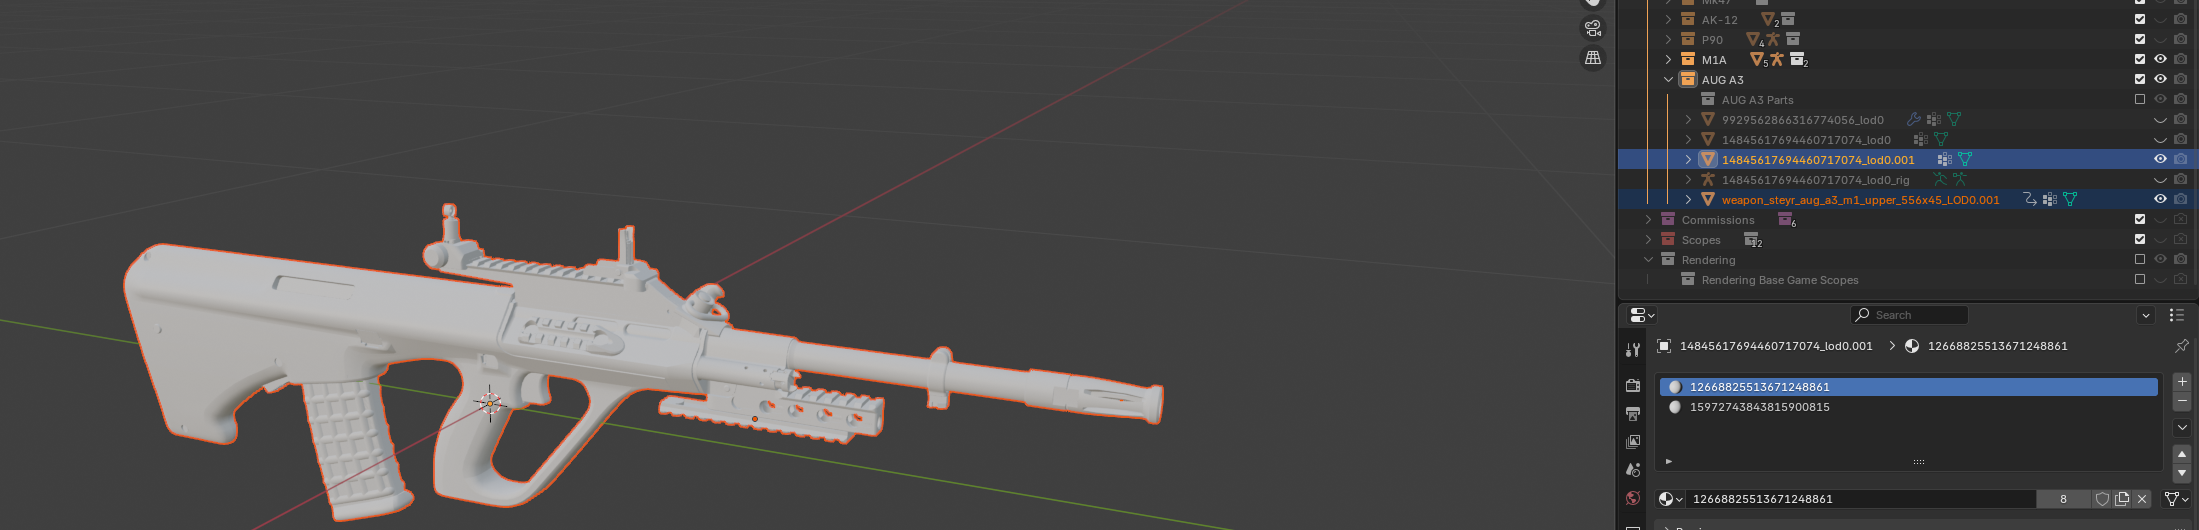
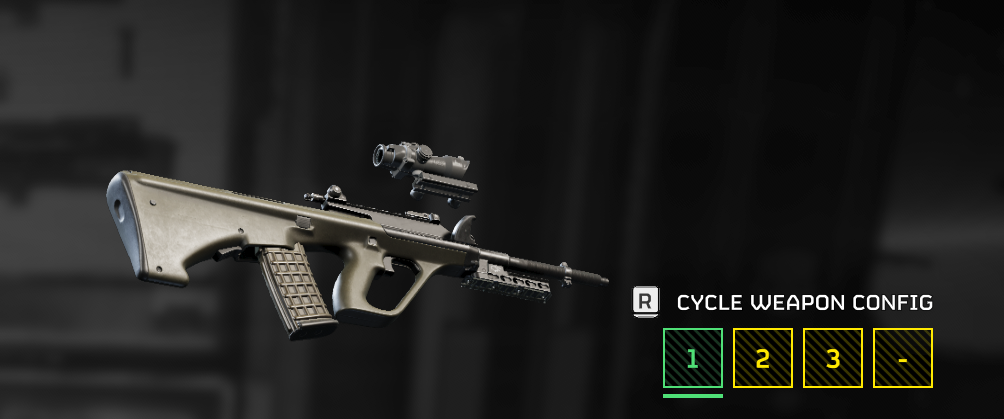
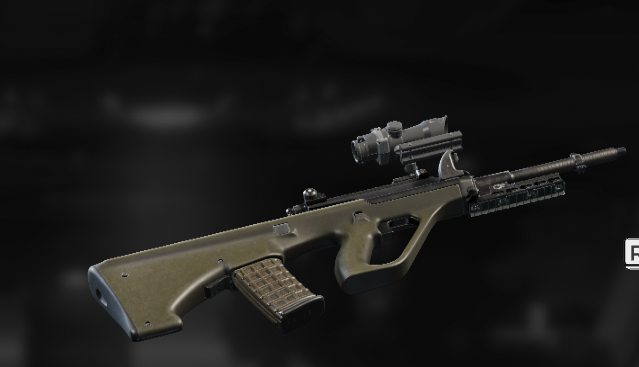
Import the weapon you want to replace and the weapon you wish to replace it with. This example will be replacing the AR-61 Tenderizer with a EFT AUG A3.
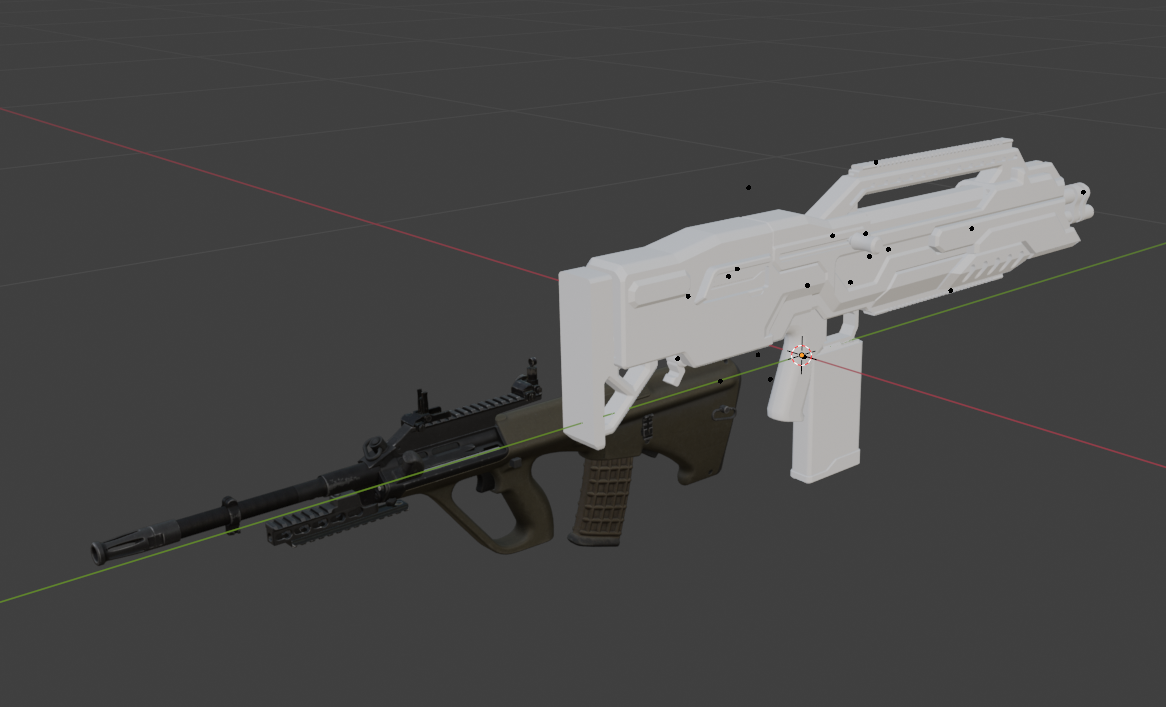
Align the grip of your weapon to the base game.
At this point, do a test fitting to make sure that in-game the gun feels the right size. Make a duplicate of your model before doing this
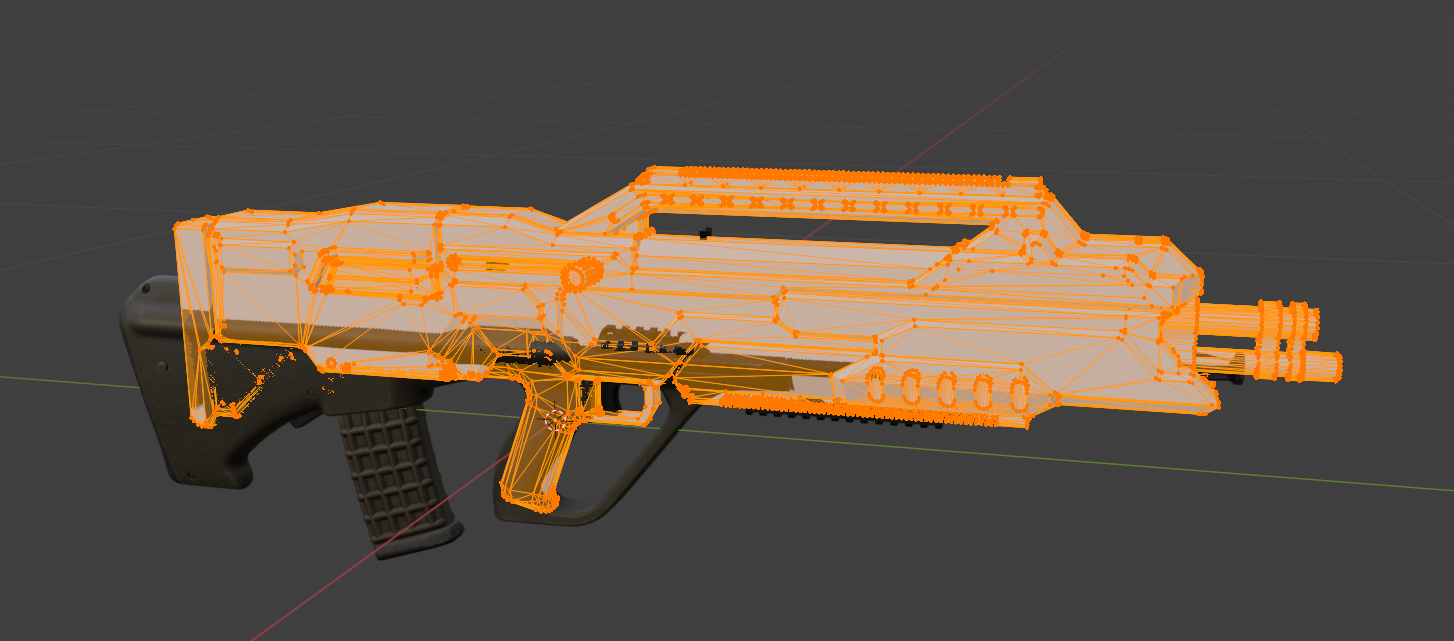
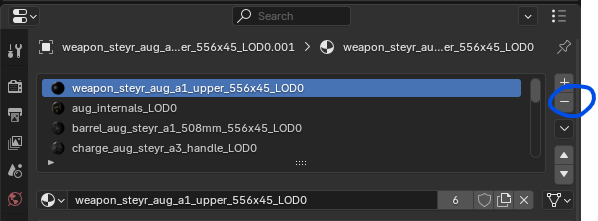
Select all the vertices of the base game weapon and delete them.
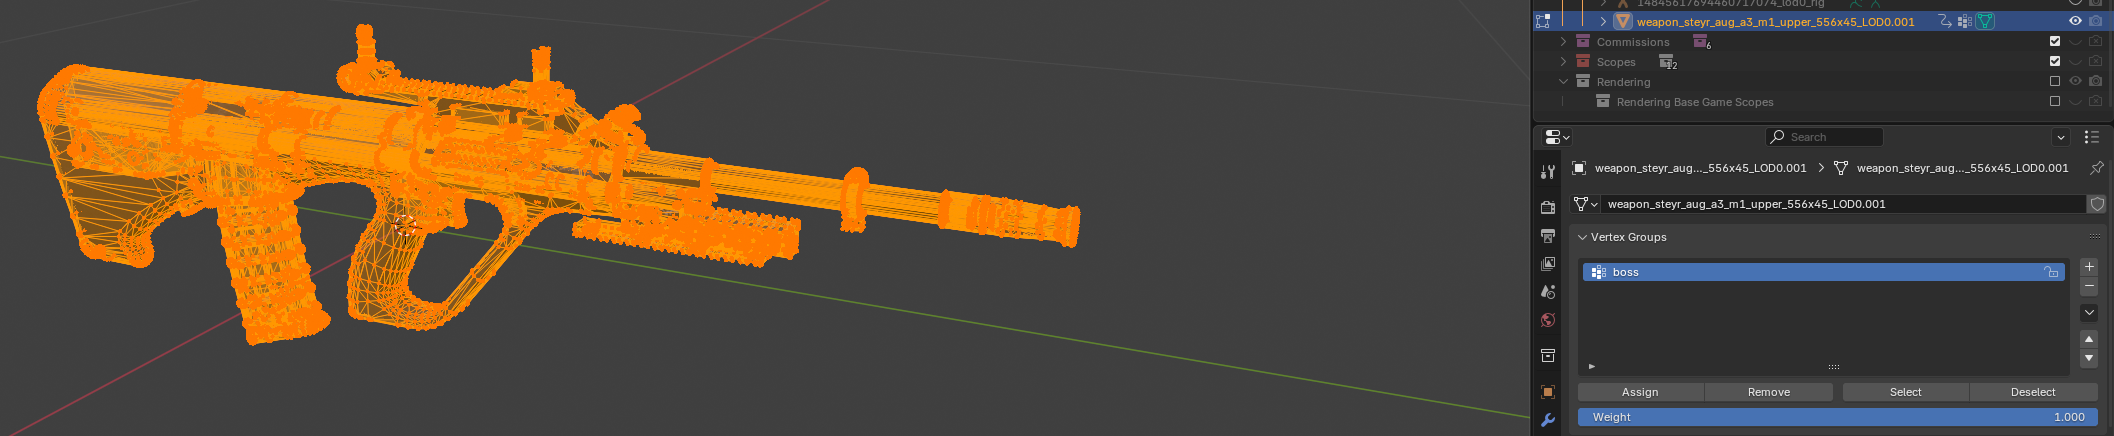
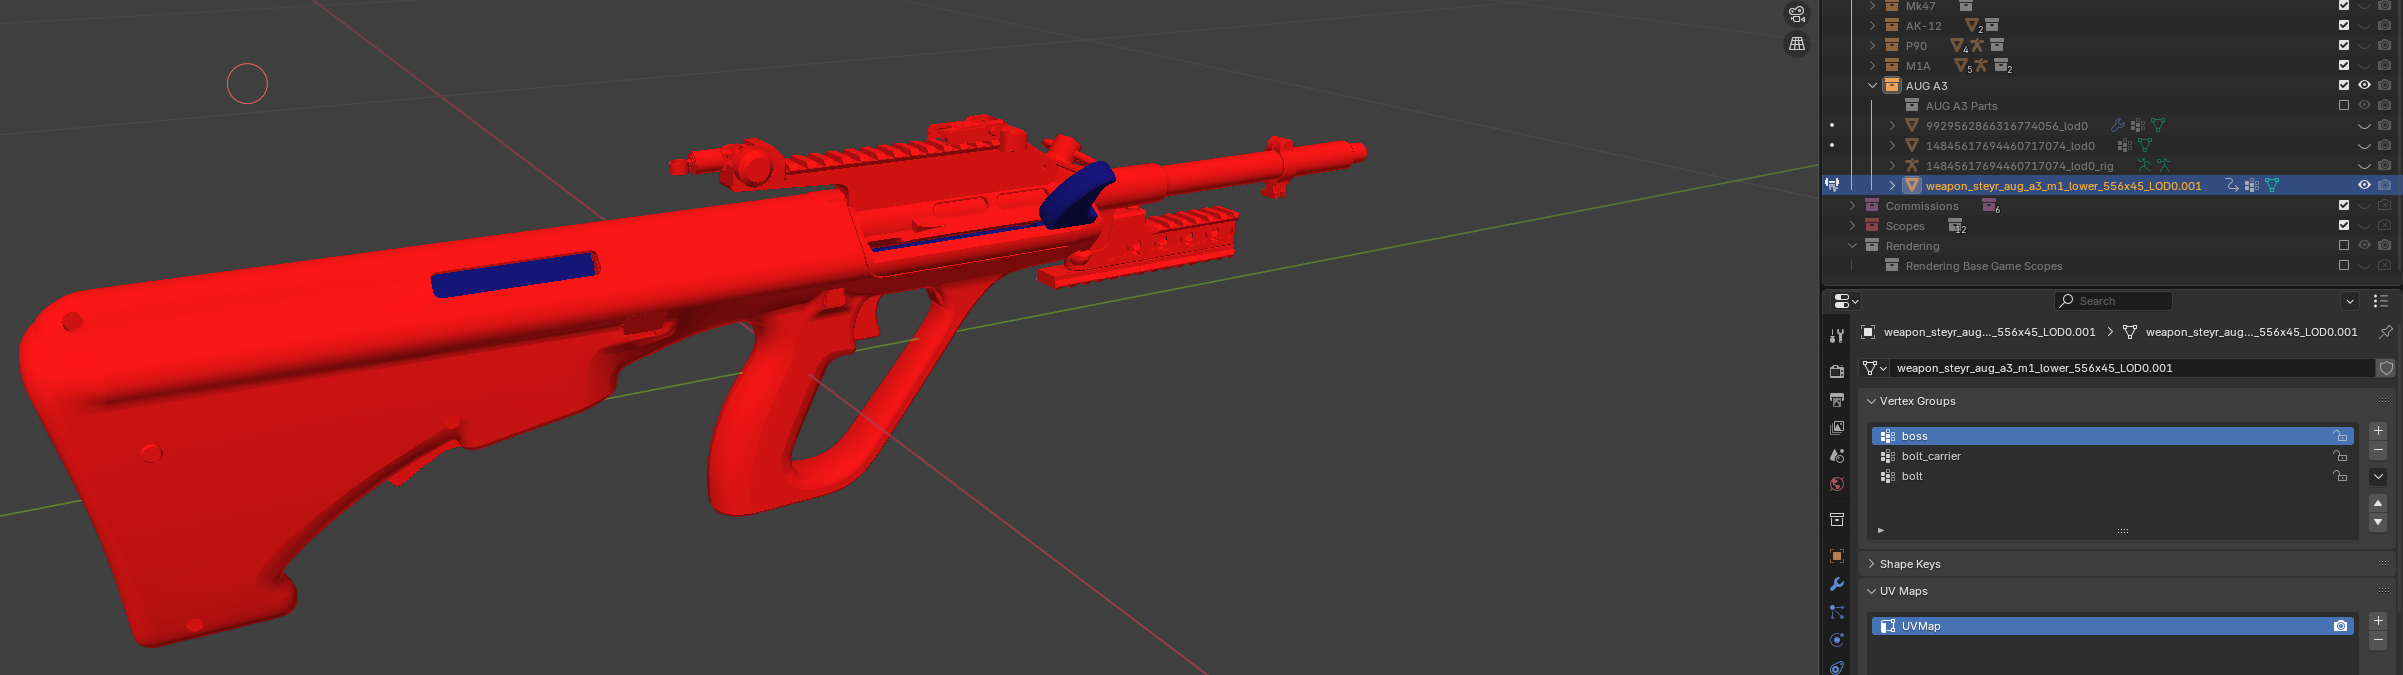
On your model, go to weight paint mode and assign everything to vertex group boss.

Remove all materials attached to your model.
Join your model mesh to the base game mesh.
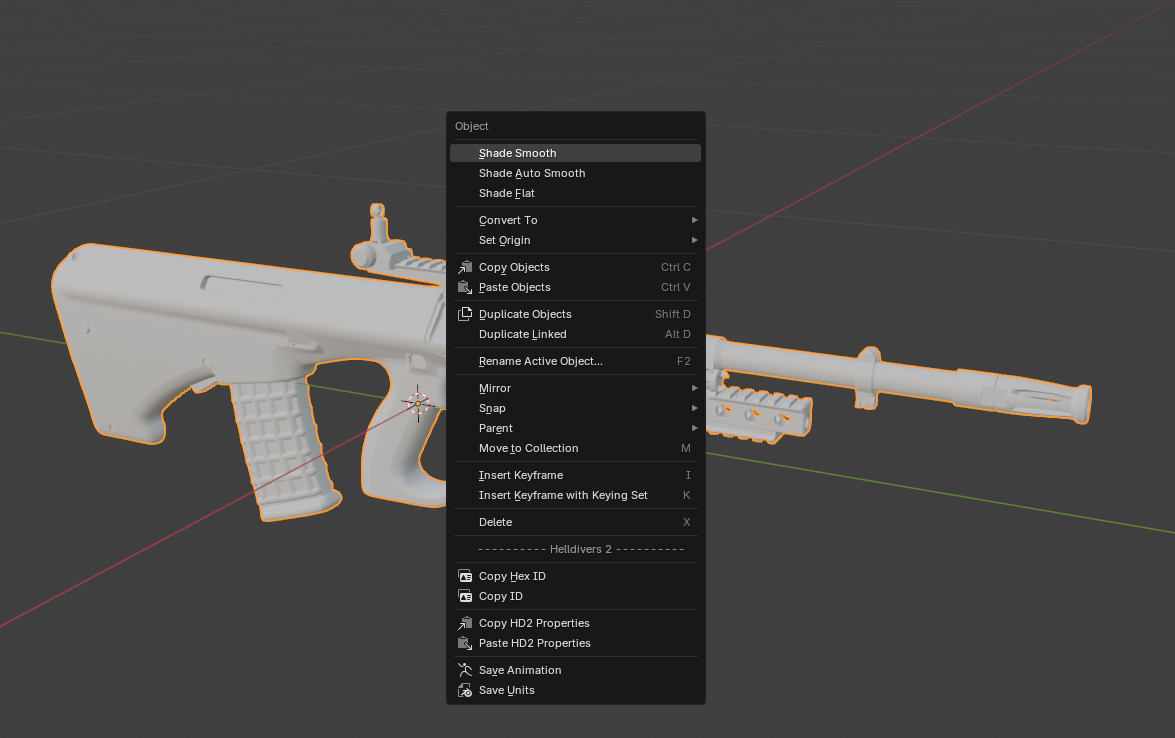
Right-click on your mesh and click on save units. Since we are doing a test fitting, you only need to have the unit saved to the patch and nothing else. If other things are saved, like materials or textures, you can just remove them from the patch using the x.
INFO
At this point you should have already loaded in the base archive using the star icon as well as have hit the new patch button.
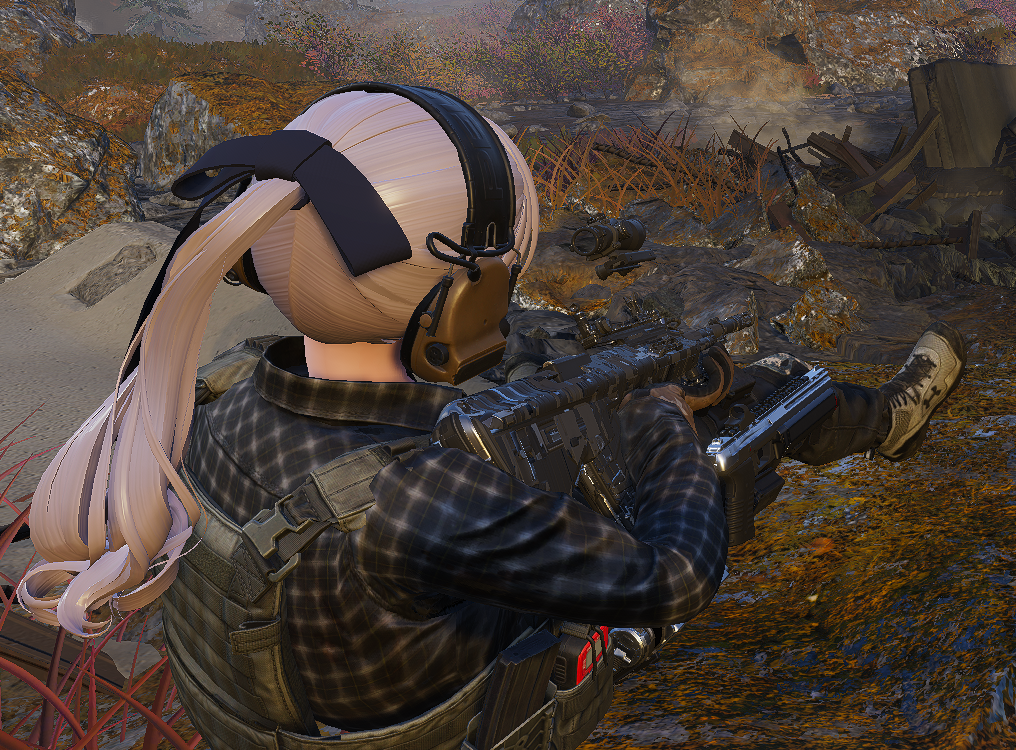
Once the unit has been saved to the patch, hit write patch and test in-game. You want to ensure that the weapon is being properly held by the right hand as well as making sure the stock of the weapon does not clip through the player model when shooting.
If the fitting feels good, move onto the weighting section
Weight Paint
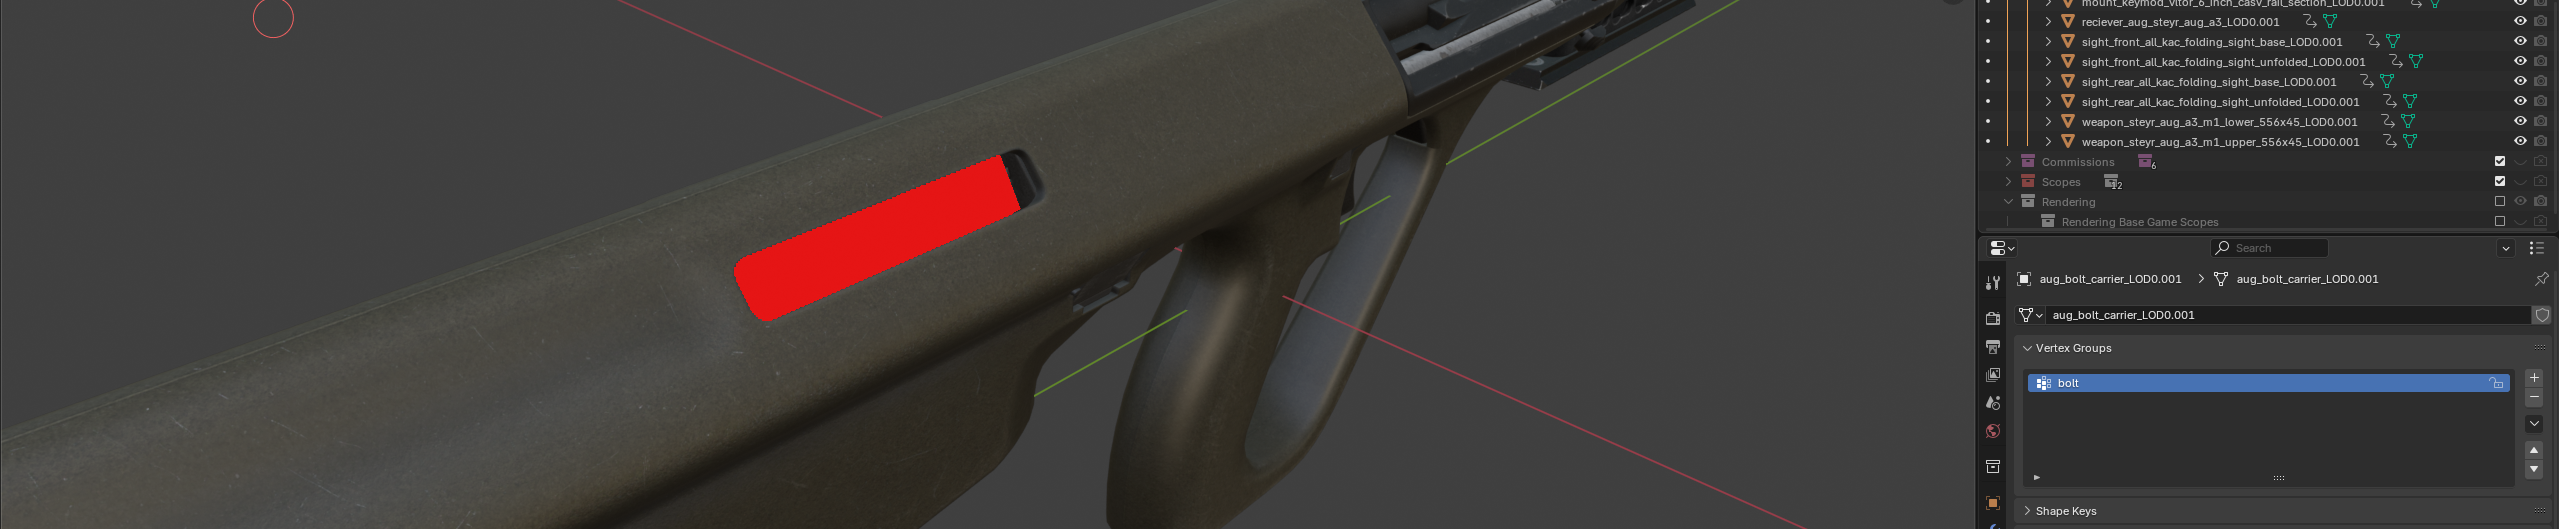
Each gun will have different vertex groups that control different parts of the gun, like the bolt and charging handle. You can view all of these in the weapon's vertex groups. You will want to be in weight paint mode in order to view the groups properly.
INFO
If you are replacing a static mesh, you can skip this step as static meshes do not have any animations associated with it.

There will typically be two different types of animation used for weapons, vector-based and rotational based.
Vector-Based Animation
These are animations that will only move in a single direction and reciprocate. This will include things like the bolt moving back and forth whenever the weapon fires, or the charging handle being pulled back then springing back forward.
These animations are global and do not require bone/animation edits in order for your modded weapon to properly work.
Rotational-Based Animation
These are animations that will pivot in place or spin in some fashion. This is usually used for functions like the fire selector switch or mag paddle releases.
These animations are not global and will require bone/animation edits in order to for your modded weapon to properly work if your modded weapon does not have the mesh in the same spot as the original gun you are replacing.
If you wish to understand how to edit animations so you can fix rotational-based animations for your modded weapon, please visit this link.
Based on the criteria above, choose how much of the gun you will want to have proper animations.
Start assigning parts of your modded weapon to have the corresponding vertex groups.
Continue this until you are completely done with assigning weights.
Materials/Textures
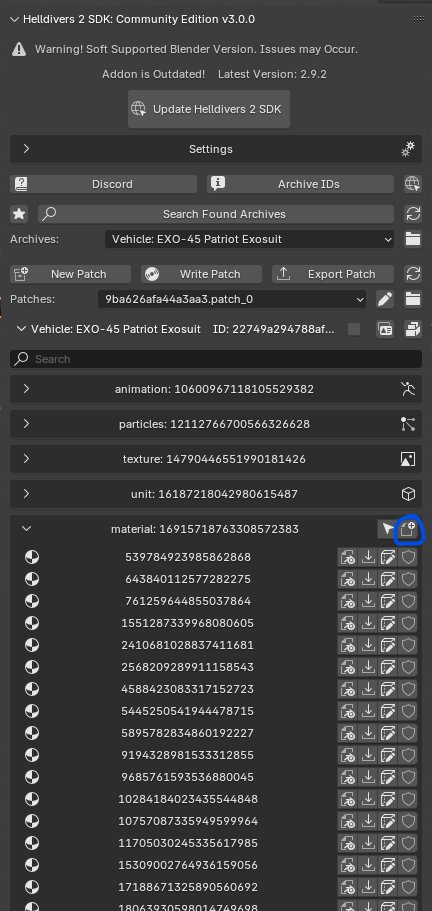
Start generating SDK materials to replace on your mesh. Please visit here to understand what type of material types that are available for you to use. For this example, all the materials will be using the Advanced preset.
Click on this button in the SDK to generate a new material.
Replace the material on your mesh with the newly generated SDK material.
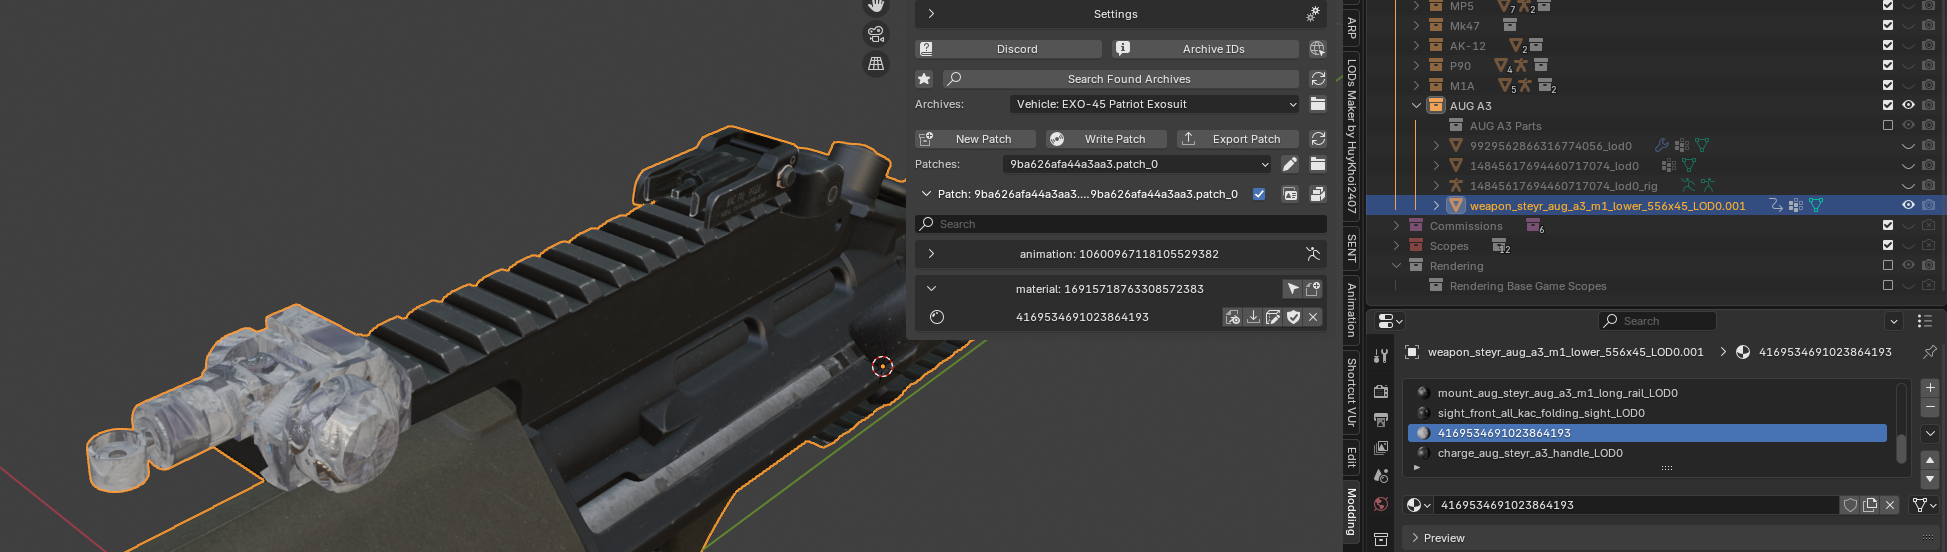
Input the required textures for the material preset you are using. In this case, we are replacing the Normal/Roughness, Metallic, and Color/Emissive.
Repeat this for every material you need to replace.

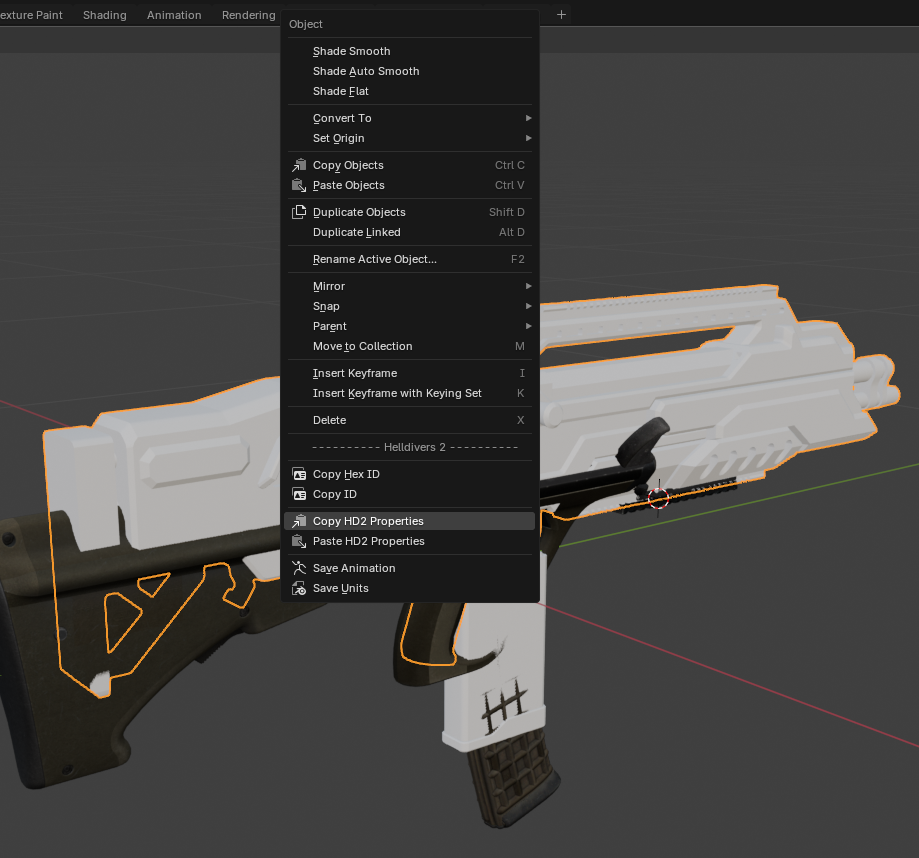
Copy Properties
There are two different ways to copy properties from the base game unit you are replacing onto your modded weapon.
Copy Properties Option
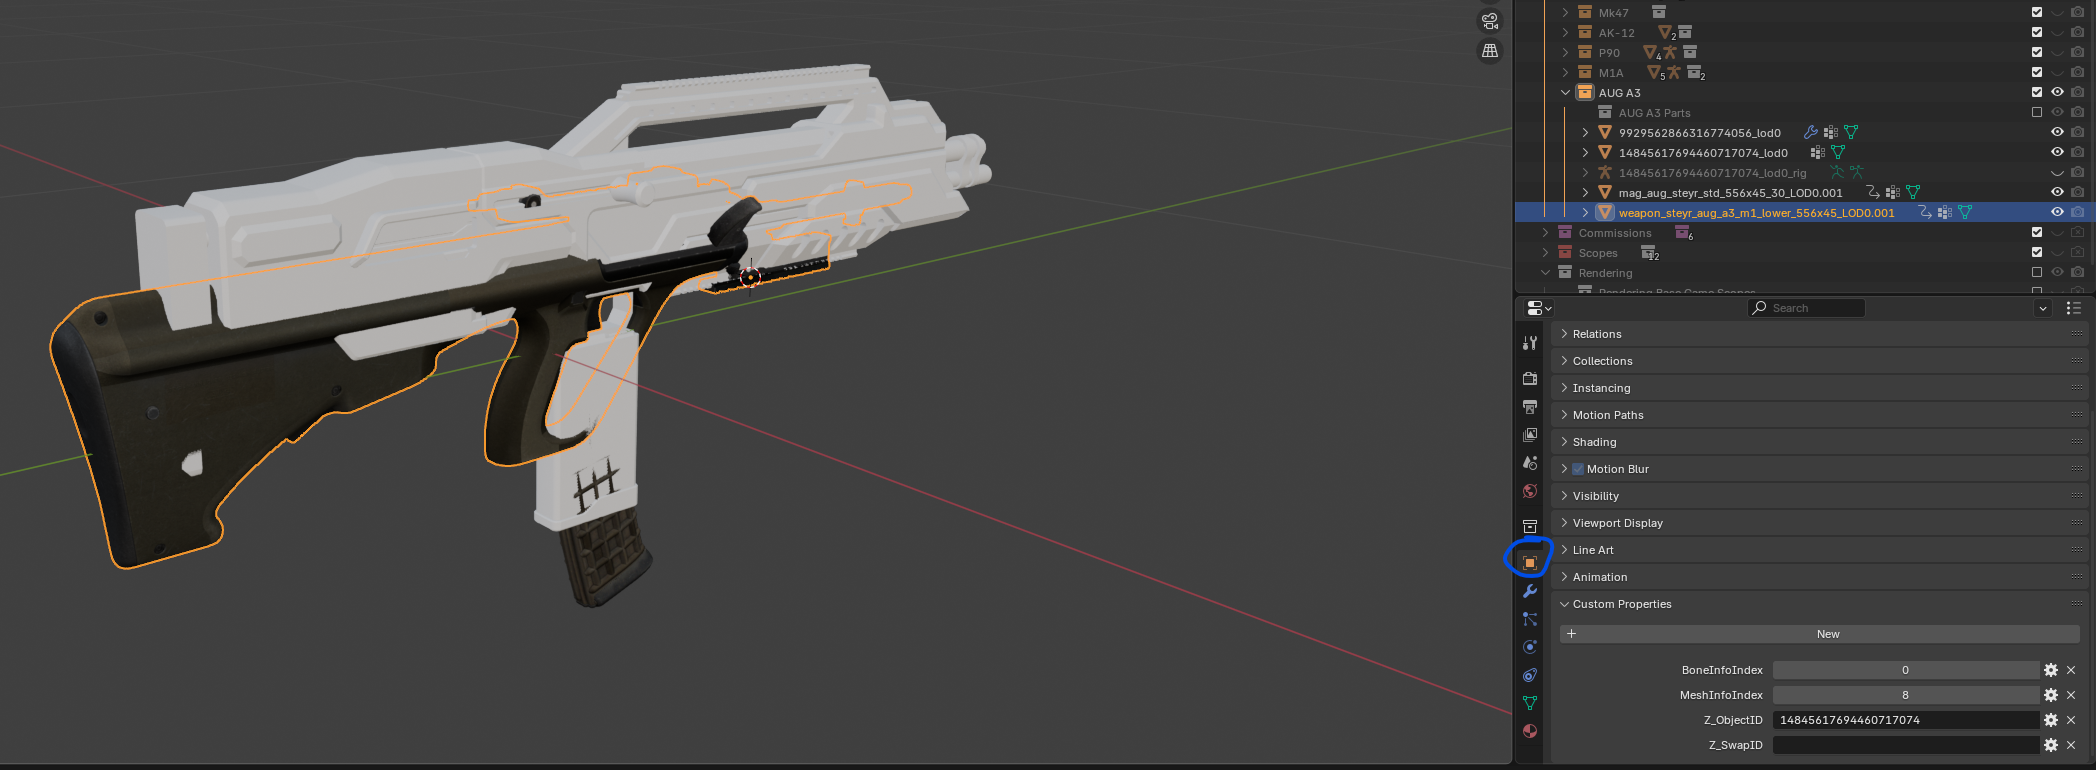
In this method, you will right-click the base game unit and then hit Copy HD2 Properties.
You will then select your modded mesh, right-click and then hit Paste HD2 Properties. If successful, your modded mesh will have the custom properties in the object properties tab.
The point of origin will now need to be copied. Click on the base game unit Hit the keys Shift+S Select Cursor to Selected Click on your modded mesh Right-click > Set Origin > Origin to 3D Cursor
Repeat this for every unit you are replacing with a modded mesh.
Copy Properties through Merging
In this method you will copy the properties of the base game unit through merging your mesh to the base game mesh.
WARNING
If you use this option, make sure to rename your UVMap to UVMap instead of whatever your mesh has before joining the objects together. This can sometimes be something like Diffuse UV.

Select the base game mesh
Delete all vertices
Remove all materials
Select your modded mesh
CTRL+Select the base game object
CTRL+J to join
Whatever option you choose, do this for all the units you are replacing.
Magazine Placement
At this point, select all the meshes you are modding, right-click, and Save Units. Once the SDK is done processing, hit Write Patch and launch your game.
As you can see here, the magazine is not in the correct spot.
Back in Blender, select the magazine and go to Edit Mode. You must be in Edit Mode for this.
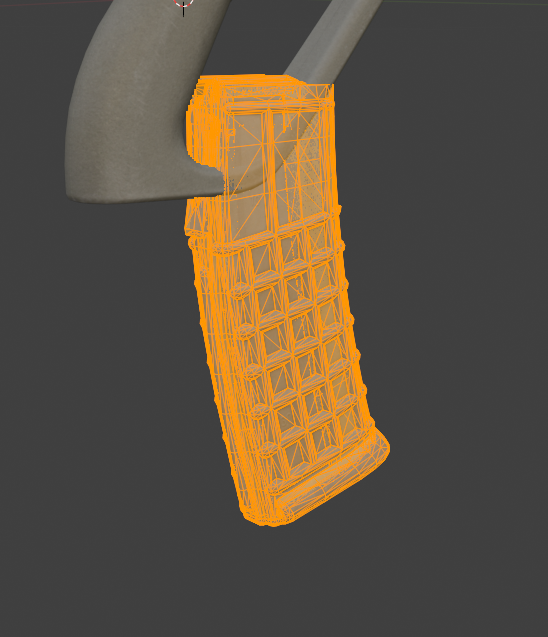
Move the magazine in the direction it needs to go. Once you are done, remove the old magazine unit from the patch and then resave the modded magazine to the patch. Write Patch and relaunch your game.
Repeat until you get the magazine into the correct spot.
Bone Editing
In order to get weapon customization to work with your modded weapon, you will need to do some edits to the unit armature.
INFO
If you have not already, import the armature of the unit you are replacing.
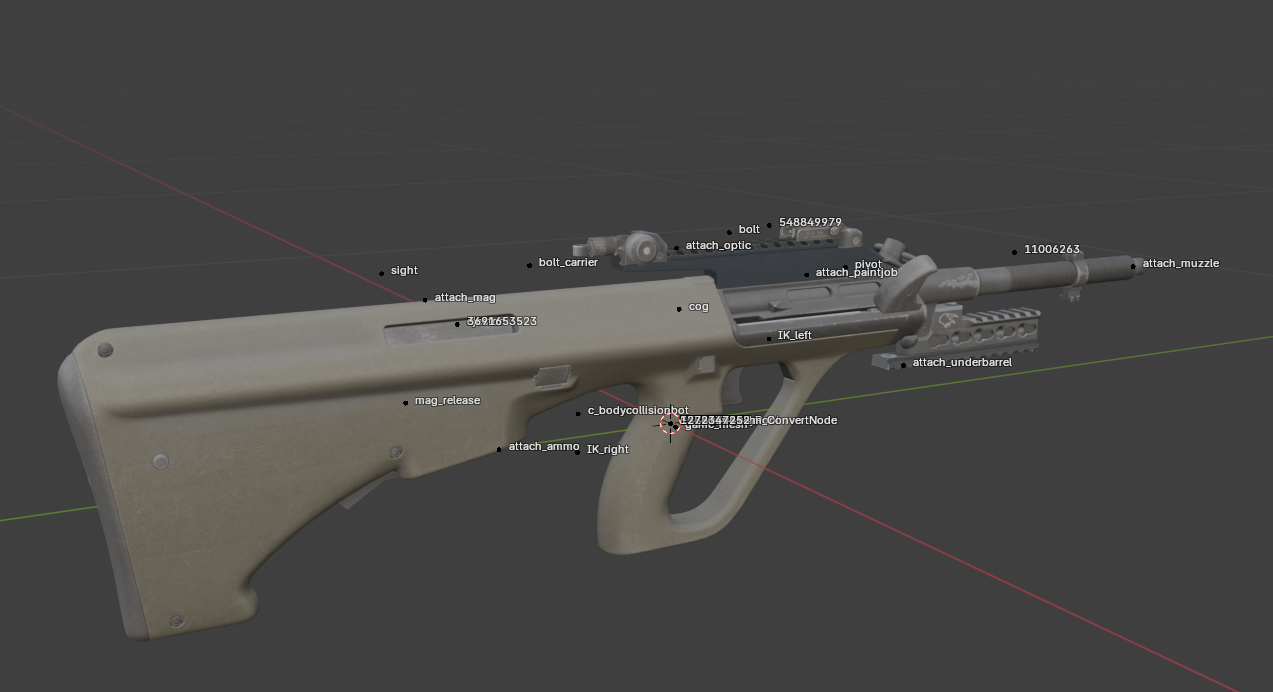
To make things easier, turn on the names setting in the bone collection tab with the armature selected.


These are the main bones you want to worry about:
attach_muzzle - Where your bullets spawn from and where the muzzle attachments are placed
attach_underbarrel - Where the underbarrel attachments are placed
attach_optic/sight - Two bones that control where the sight attachments are placed and the armory render screen for said attachment
ejector/numbers - Two bones that control where bullet casing spawn from
IK_left - The left hand position
To move the bones, have the armature selected and then go to Edit Mode. From here move the bones to where they need to be on the model.
Reference the base game mesh and armature positions to see how HD2 does it.
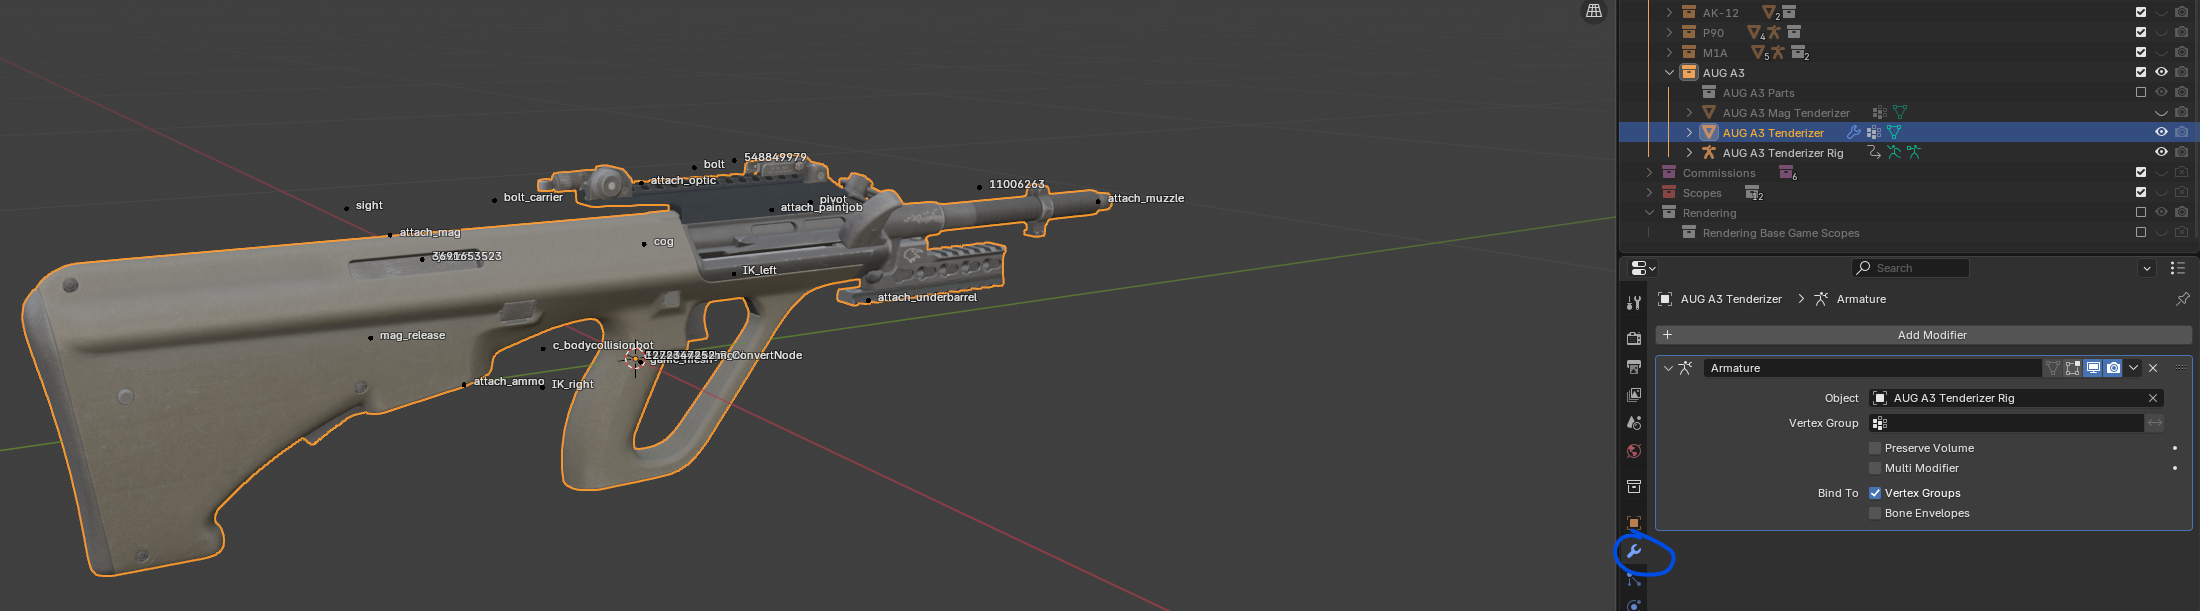
Before saving the unit to the patch, ensure that your mesh has an armature modifier applied that is referenced to the armature you have edited.
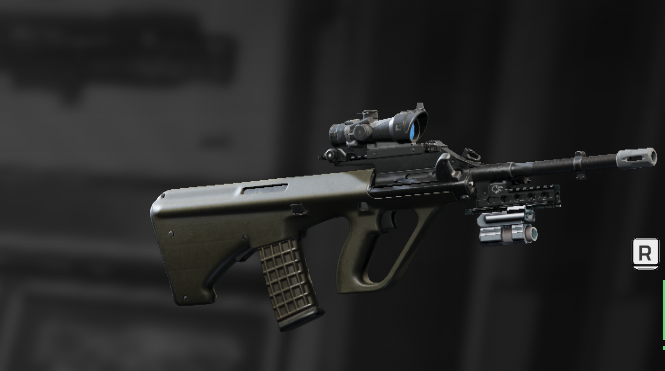
Write your patch and test in-game. Continue editing until you get the weapon attachments in the correct position, then go planet-side and test the IK_Left and Ejector bones.
Ejector Tips and Tricks
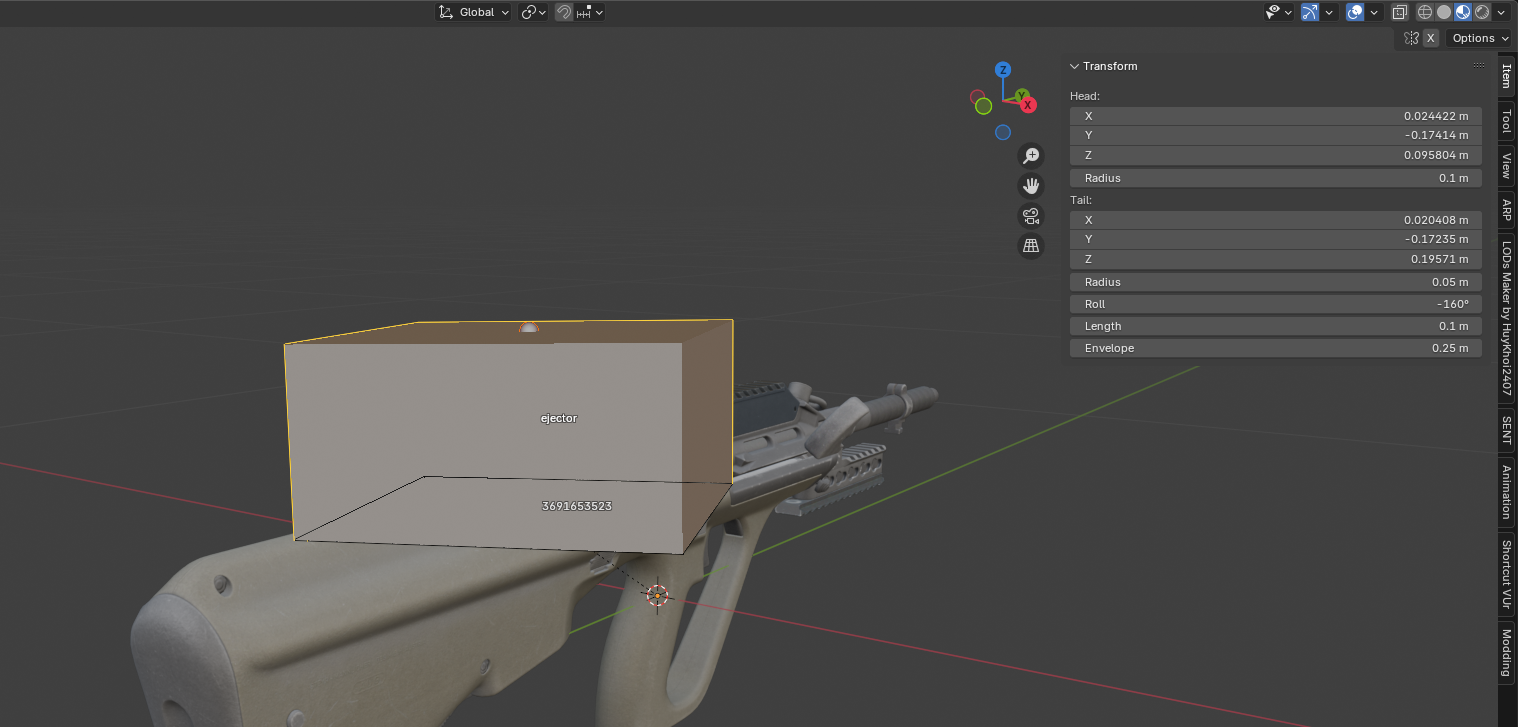
If you want to change the direction the bullet ejects from, you will need to edit the direction that the bone faces, you can view this by changing the length of the bone to 0.1 or higher. Just make sure to revert it back to it's original setting once you get your bearings.
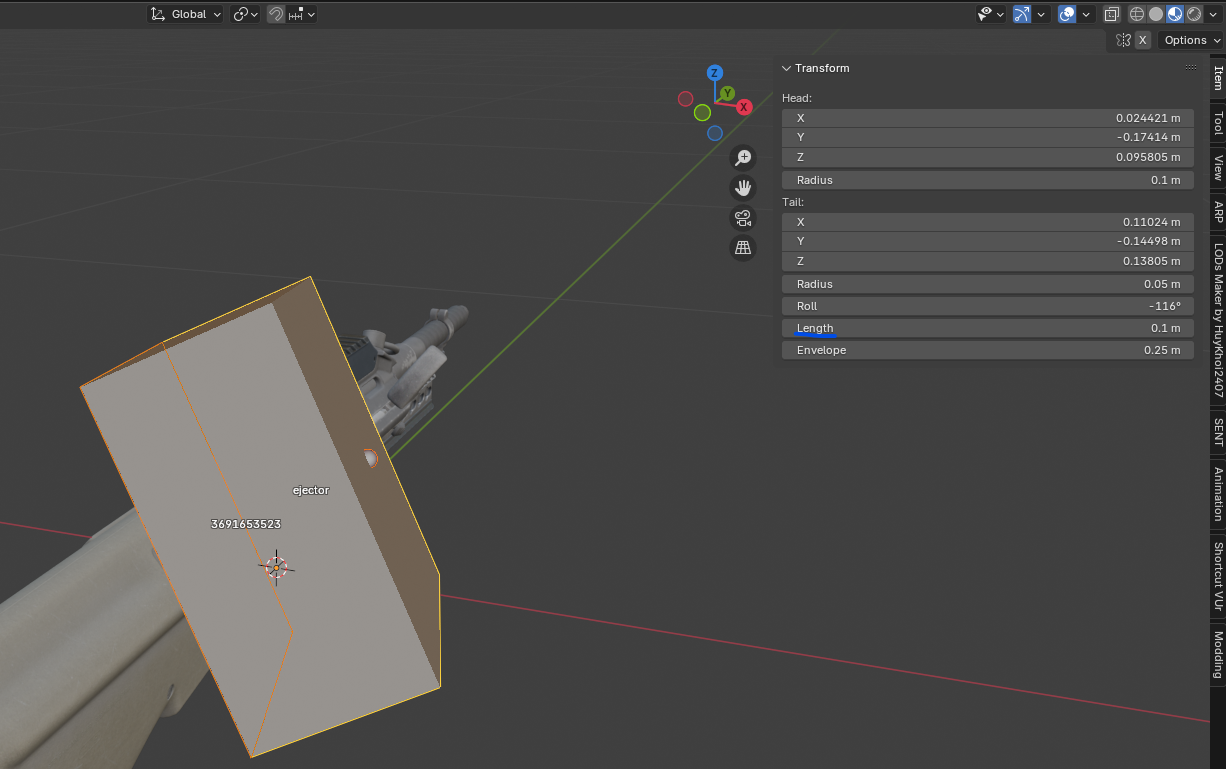
For now we are going to point the bone straight up.
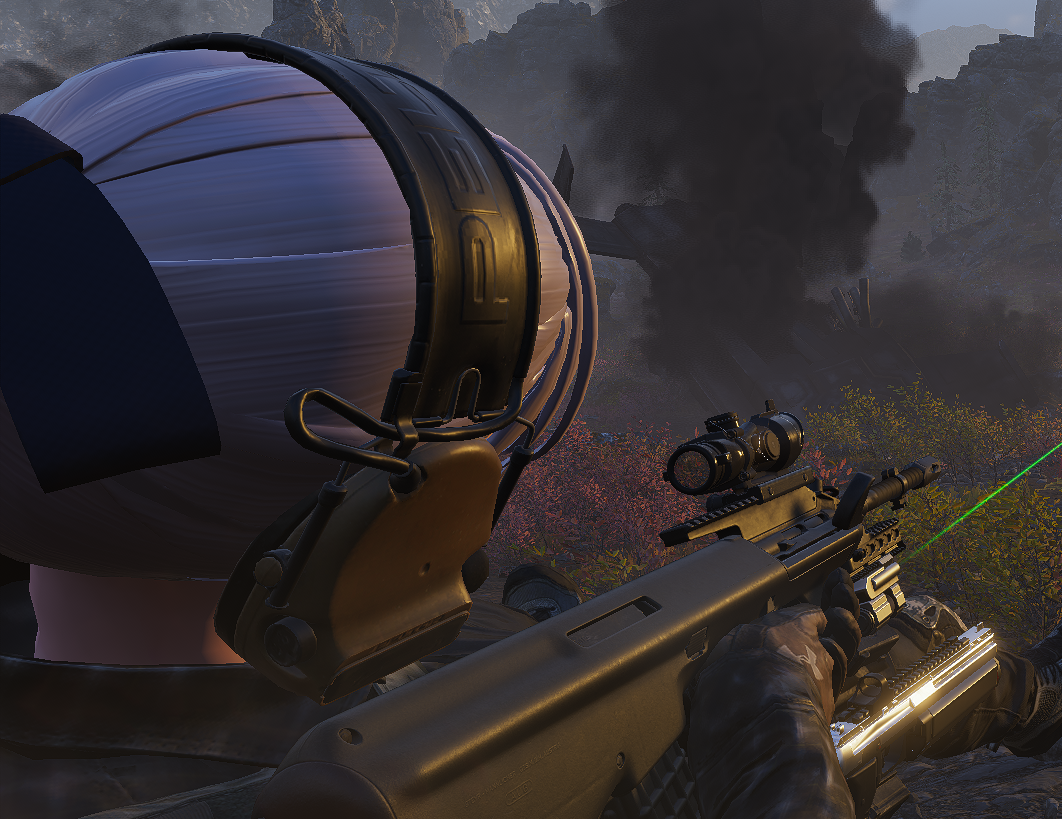
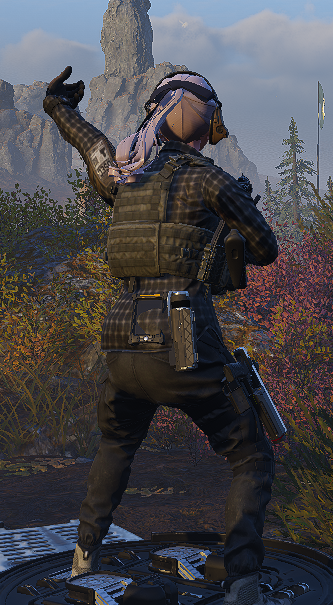
Here's what it looks like in-game
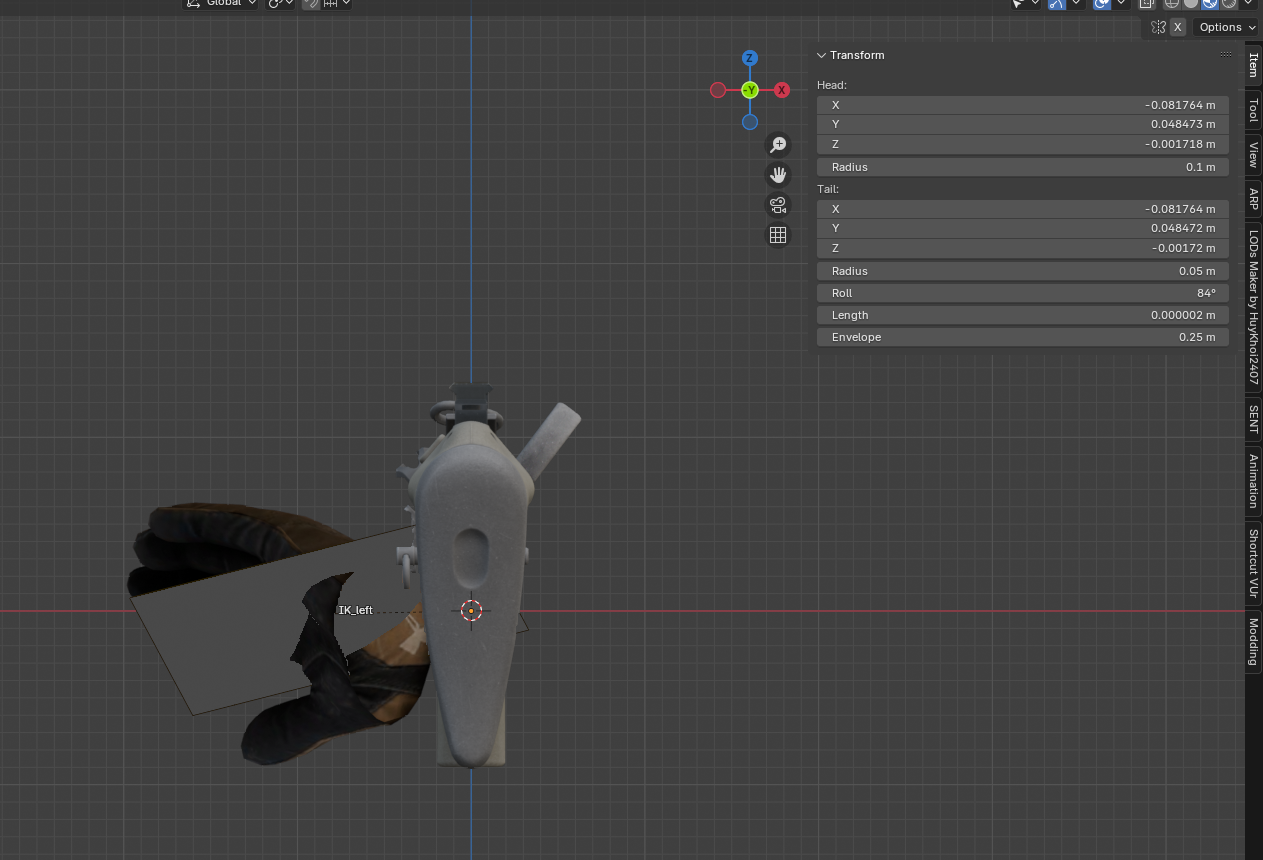
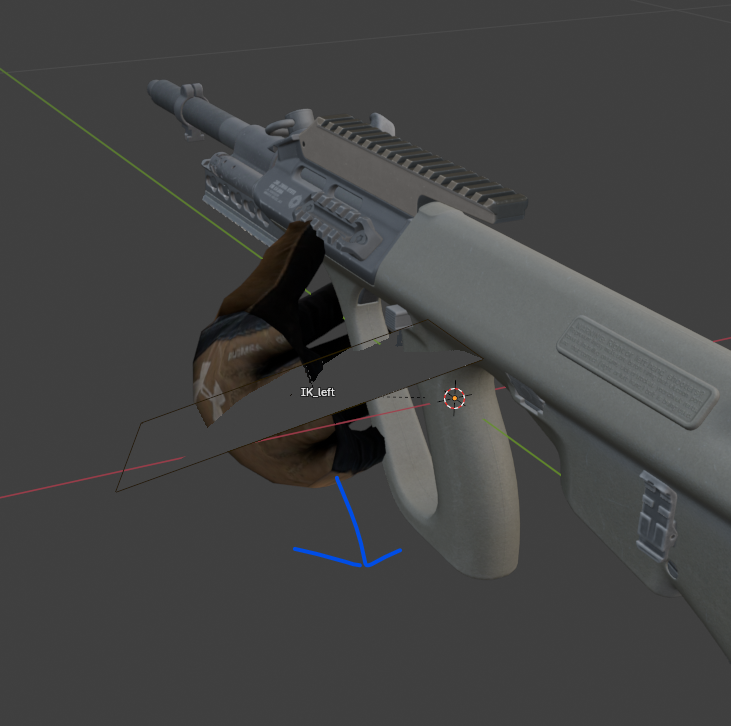
IK_Left Tips and Tricks
IK stands for Inverse Kinematics. It's a system that uses advanced trigonometry to calculate how a body would move based on the position/distance of the hand from the body. It's how the Helldiver body is able to wave the gun around and still look natural.
The IK_left bone is the marker used to determine the position of the left palm and left wrist bones.
You cannot move the IK_left bone any distance away from the player than it is physically possible to the player model to reach.
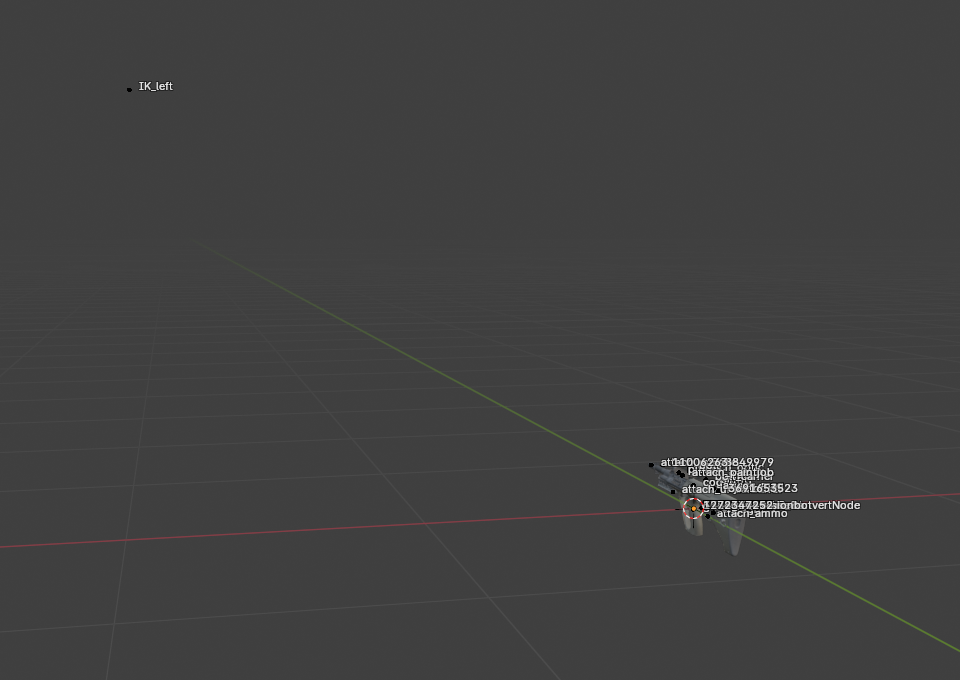
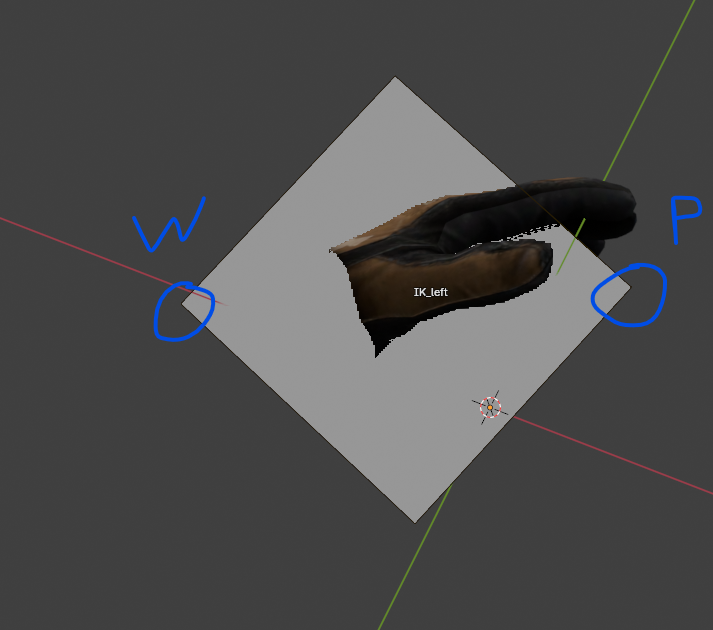
To better visualize how IK_left is visualized in-game, change the bones Display As to B-Bones
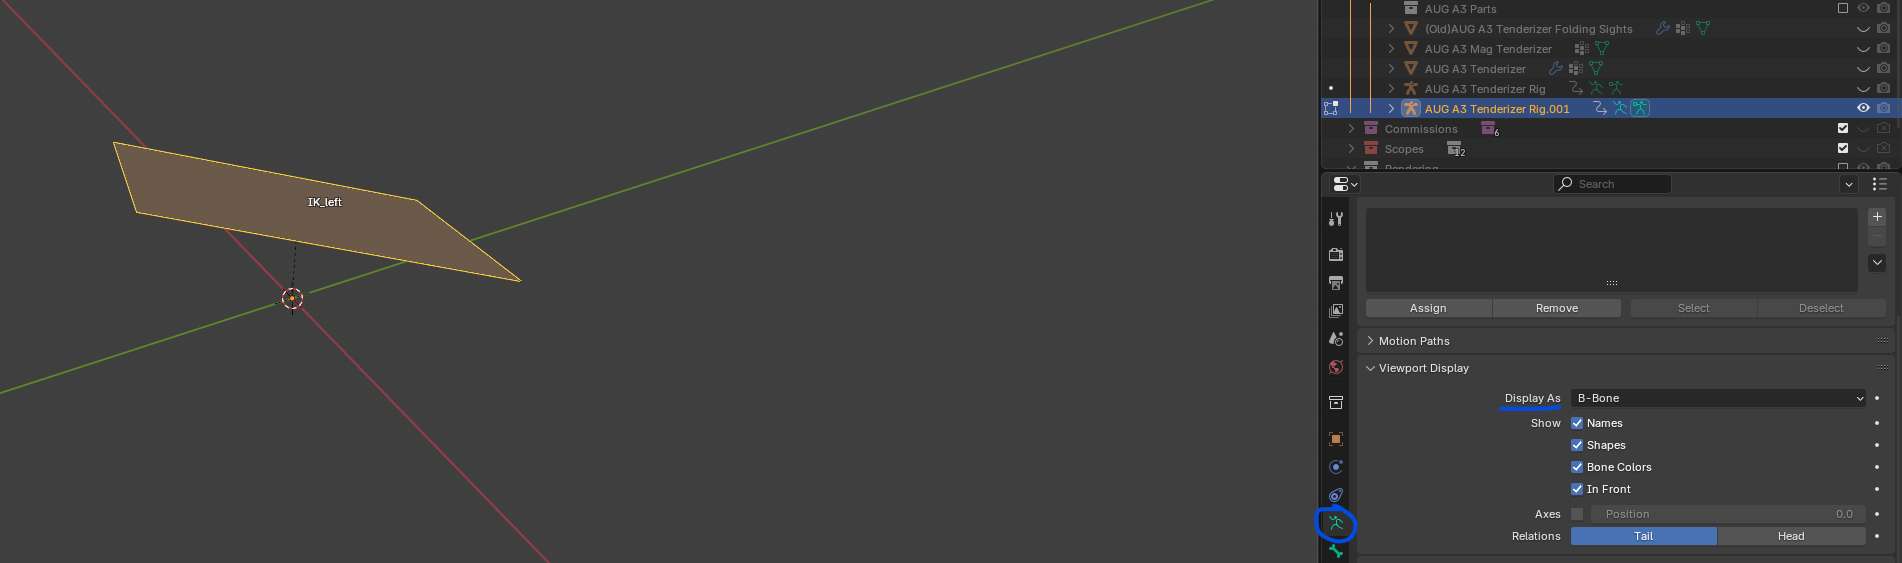
If you do the length trick like in the Ejector Tips and Tricks section, it can help you to visualize how the hand is oriented. Wherever the bone extrudes to, that is the direction of the pinky.
The two corners here are the positions of the wrist and palm bones.
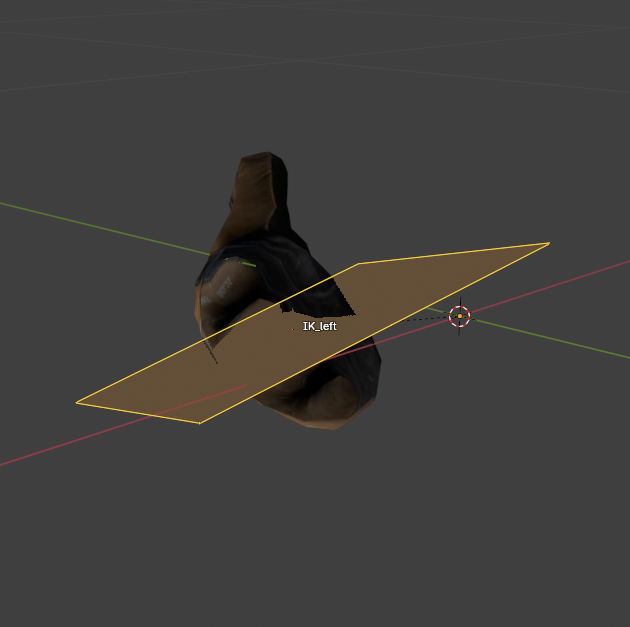
The plane rotation determines which way the wrist is rotated. Manipulating this will allow you to change if the hand is holding the weapon vertically or horizonally.
The bone Roll determines global rotation of the hand in-game.
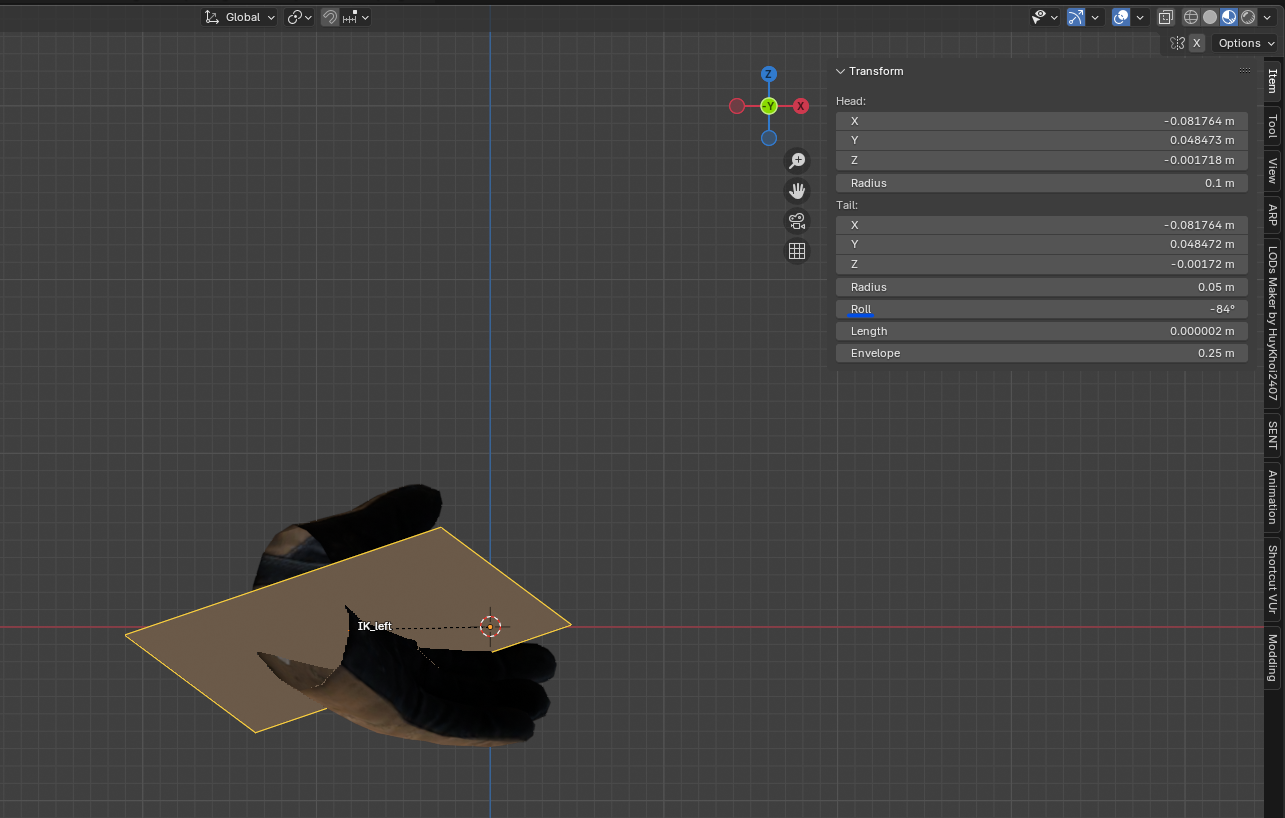
If the roll was changed by 180 degrees, it would look like this in-game.