ID Swapping
ID Swapping is a powerful feature in the SDK that can be used to make one unit replace a completely different one.
STOP
ID swapping, as well as this guide, is superseded by the Avatar Method of attaching units to the player avatar rig. It is NOT RECOMMENDED to use ID swapping unless absolutely necessary.
Example Use Cases:
- Porting armors from one set to another
- Using armor parts that have additional bones that may be missing from other armors.
INFO
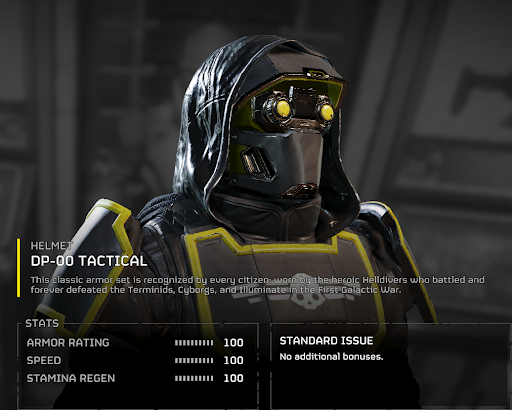
A great example of this would be porting the SC-30 helmet over to any other helmet in the game as the SC-30 helmet is one of the only helmets that has access to neck and chest bones. This means that any helmet would be able to have a hoodie or something similar if applied correctly.
WARNING
In relation to LUTs, porting base game armors will cause the (base) to inherit the Primary LUT of the (port). If we ultimately end up modifying the B-01 in-game, we still are editing the B-01s LUTs. Since LUTs are practically unaffected by this method so we need to still modify the LUTs for whatever in-game model it’s replacing.
Process
IMPORTANT
You need the ID of the unit you want to replace. For info on acquiring that, go here
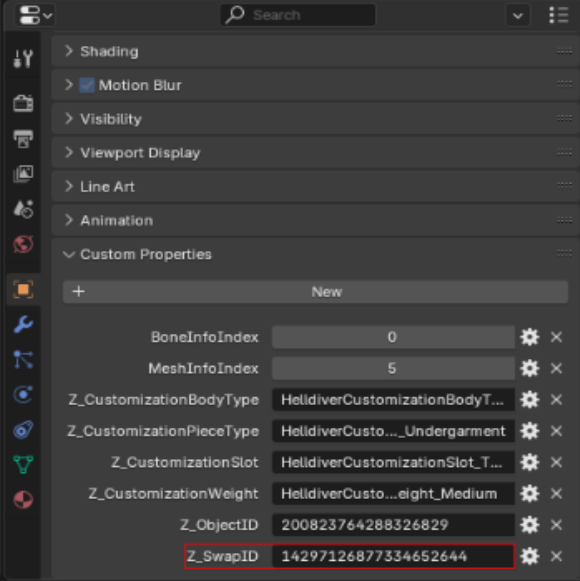
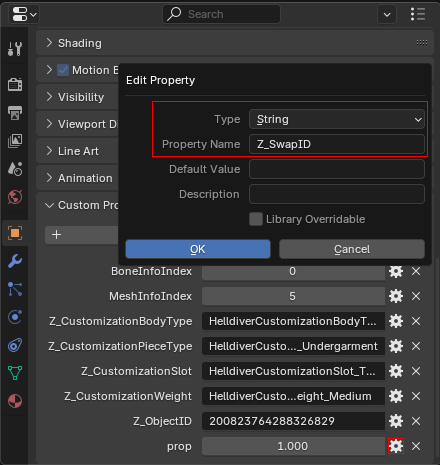
1. Fill in Swap ID Property
Take an existing unit and add the ID of the unit you want it to replace in it's object properties Z_SwapID.
Fill the Z_SwapID value with the ID of the (port) unit. In this case I am using a CM-09 Connections (base) and a GS-17 Helmet (port).
NOTE
If the object doesn't have this property you can add it by clicking New, then the gear icon to set:
Type: String
Property Name: Z_SwapID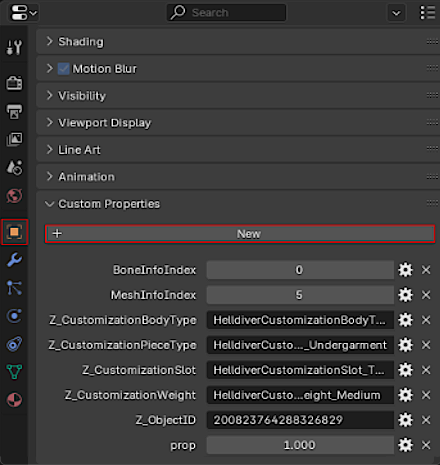
2. Save the Unit
When you save the mesh, the SDK will now automatically rename the ID of the (base) to your (port).
You can now write and export the patch as normal.
NOTE
There is anoter way to perform the swap but it is limited compared to the above method as it requires you to rename each mesh you save each time you make a new patch.
Alternative Swapping Method:
Rename In Patch:
Find the mesh ID of your (base) body part in the patch and right click the ID. The exact ID of the body part can be found in Object > Custom Properties.
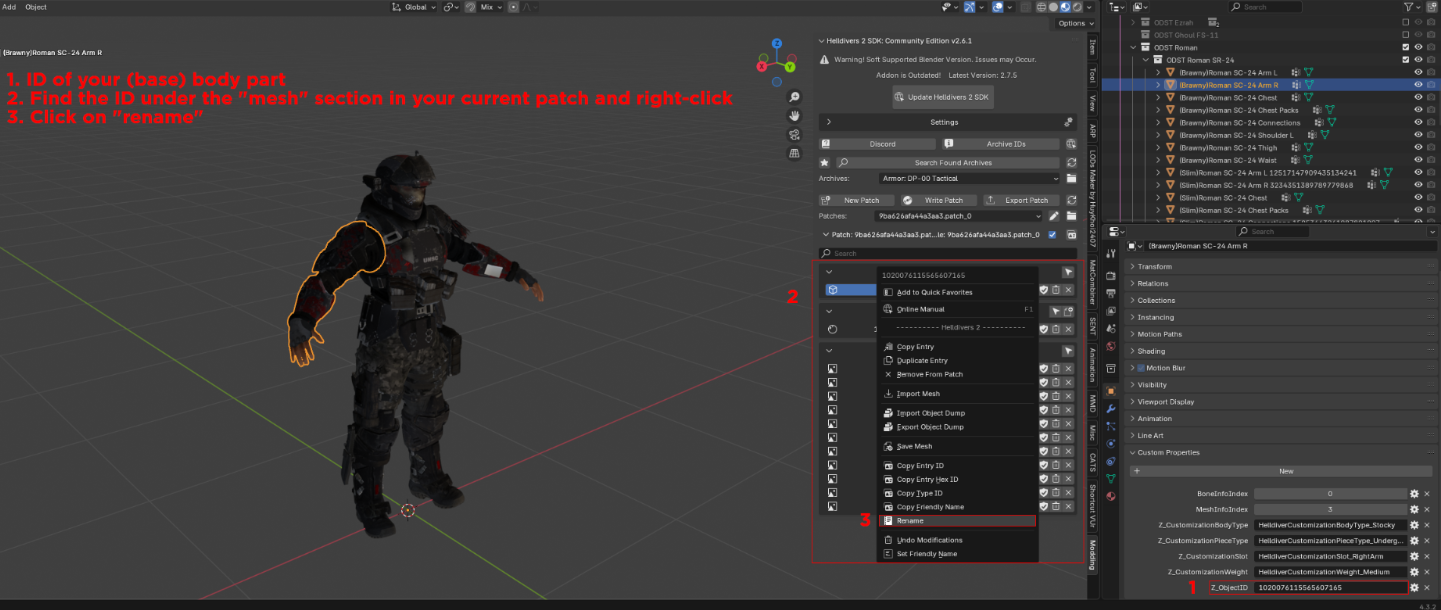
The mesh ID will now be changed from the (base) body part to the (port) body part.
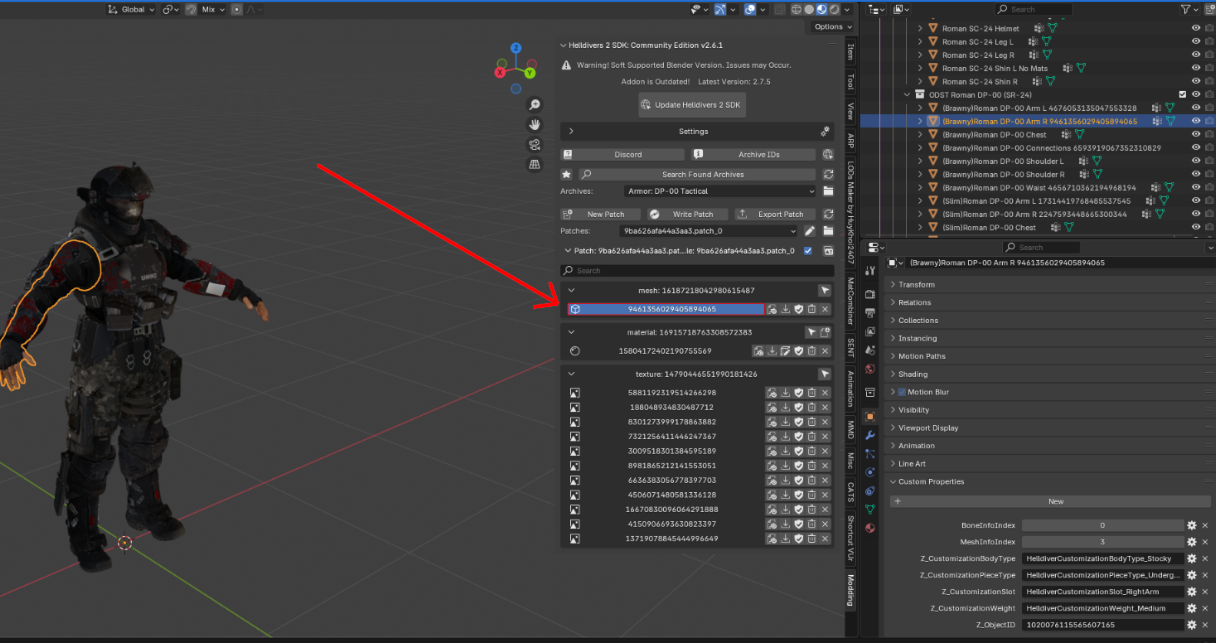
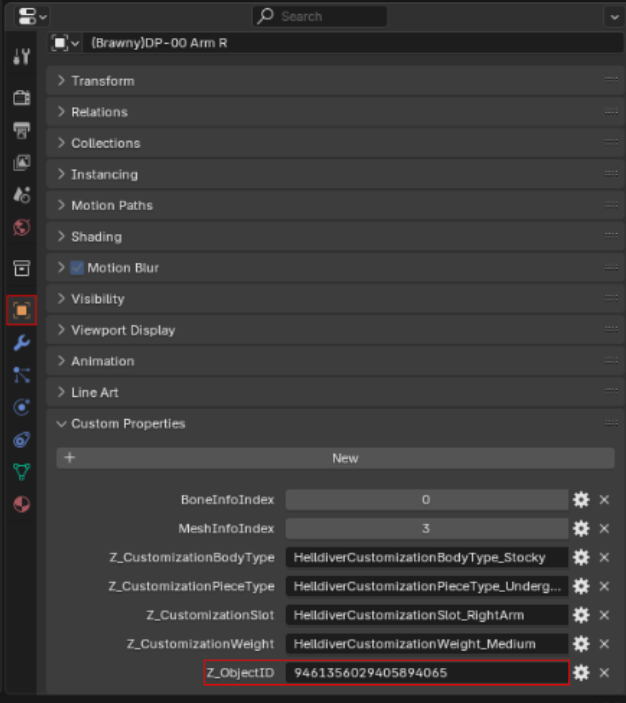
Finding a Unit's ID
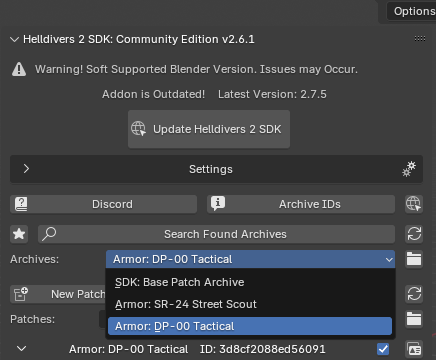
Load Archive(s)
Load the archive of the unit you want to replace.
Use the Search Found Archives button to lookup by name. If the item cannot be found, use the spreadsheet. If you only have the Archive ID, use the magnifying glass to the right of the Archives: list.
Note Desired ID(s)
Once the correct archive is selected, use the Units section to import the units and determine which specific unit(s) you want to replace. Once a mesh is imported, you can find the ID under Object Properties > Custom Properties. In this case I am replacing the DP-00 Brawny Arm Right.
IMPORTANT
Save the ID somewhere easily accessible.